How to use Google Sheets as an LMS
I usually track my trainings and gather learner data with the help of the traditional xAPI/LMS combo. But sometimes, it’s not quite what the client needs.
I recently worked on an App tutorial. My client wanted to embed the training on her webpage. That way, learners who came for this specific training could be retrained on her site.
Since we didn’t need to enroll learners, using an LMS didn’t make sense. This gave us a little extra flexibility.
To accomplish this, I uploaded her training on AWS and used an iFrame to embed the tool into her website. For those not familiar with iFrames, a thorough tutorial can be found on the W3 schools’ website.
But I still needed to capture data; location data, right and wrong answers, and other user statistics. So I looked around and found an eLearning widget (works with Storyline and Captivate) made by Cluelabs, and specifically made for this purpose.
It allowed me to get all the data I needed directly into my clients’ Google Sheets without needing an LMS or requiring the use of xAPI.
The widget allows you to communicate with Google Sheets by just adding a few snippets of javascript here and there.
A tutorial is also available on their site, but I found that you can skip a couple of steps and make it work just as well.
Step 1: link your Google spreadsheet to Cluelabs
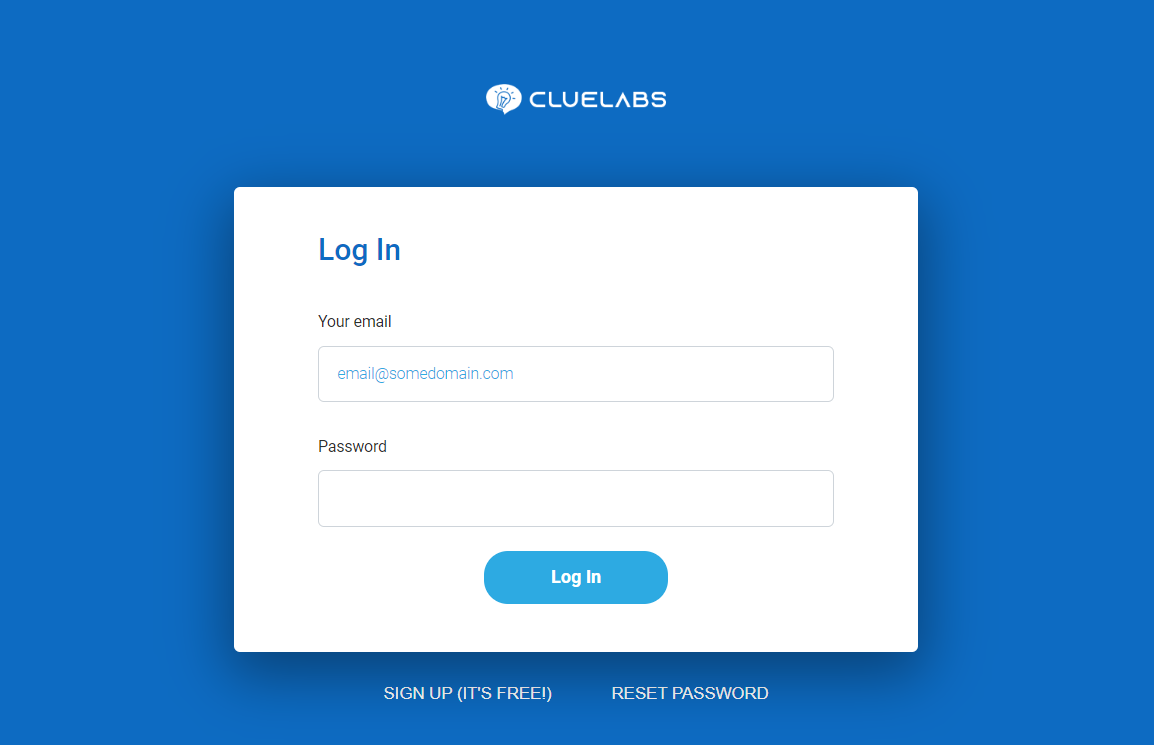
Go to cluelabs.com and sign up.

Click on the “Google Sheets Import/Export” tile on the main page.
Click on +New Widget.
Give the Sheets Widget a name and select the authoring tool you will use (Articulate Storyline in this example). Follow along with gif demonstration. (I’m linking the gifs as the page would be too long to load otherwise)
Go to Google Sheets and create a new spreadsheet. Click “share” and paste the email sheetswidget@cluelab.com in the text field. Make sure “editor” is selected and click “share” again.
Go back to the Cluelabs page and paste the URL address of the sheet document in the dedicated field. Follow along with gif demonstration.
Then it’s going to ask you to go to the selected sheet, find the verification code that just appeared and to paste it on the Cluelabs page. Follow along with gif demonstration.
Step 2: add triggers and variables to your Storyline file
Open Storyline and create a blank text variable called Stencilsheetstoken.
Follow along with gif demonstration.
Locate the Master slide and create a new trigger that executes Javascript when timeline starts.
Cluelabs will provide you with a code unique to you, to paste into the script window.
This code needs to execute on each slide, this is why it needs to be on the Master slide.
Follow along with gif demonstration.
Step 3: How to send data to Google sheets
How to see if a button was clicked
For this project, I had 3 buttons on the front page, one for each module. I wanted to know which ones people were using.
The first step is to create a trigger in Storyline and set it to “execute javascript” when the user clicks the button.
The script itself is exceptionally short:
SheetSet(‘column header’, ’value’).
Replace the red word with your desired column name. In this example, I wanted to know if people clicked the video button so I named it “video“.
Replace the blue word with the word you would like to see appear in your Google sheet cell. Here I put “clicked“.
In my case, the code I used was this:
SheetSet(‘video’, ’clicked’).
That’s it!
Now publish your project to the web. Click on a few buttons to try it out. Then go into your Google sheets and you should see your cells populating as you use your training.
Follow along with gif demonstration.
How to see how many times a button was clicked
I want to see how many times a person clicks the video tutorial button. This is a 3 step process:
1) Create a Storyline variable, name it (in my case “VideoCount“) and set its default value to zero.
2) Create a Storyline trigger, select “adjust variable” and set it to increase the default value by one every time the button is clicked. Follow along with gif demonstration.
3) Create another Storyline trigger, set it to execute Javascript when the button is clicked and paste the following code into the script window:
var player = GetPlayer();
SheetsSet(‘Video‘, player.GetVar(‘VideoCount‘));
This code is unique to you so you will need to replace the word in red with how you wish to name your Google sheets column. Replace the word in blue with the name of your variable in Storyline. Follow along with gif demonstration.
Now publish your project to the web. Click on a few buttons to try it out. Then go into your Google sheets and you should see your cells populating as you use your training.
You can use this method to pass any variable to your google sheets!
How to see location data about your learners
The same company has another widget available that allows you to collect location data and assign it to variables inside Storyline.
On the main Cluelabs page, click on the “location” tile and on +New widget. It’s going to ask you to pick a name for four variables: city, state, country and zip code.
Now go in your Storyline file and add the four text variables. Make sure you use the exact same name as you did on the Cluelabs page. Follow along with gif demonstration.
Use a Storyline trigger, set it to “execute Javascript”. In the script window, paste the following Javascript.
The code is going to be unique to you. Just replace the part in blue with whatever you called your variables:
SheetsSet(‘Country’, player.GetVar(‘UserCountry‘));
SheetsSet(‘City’, player.GetVar(‘UserCity‘));
SheetsSet(‘State’, player.GetVar(‘UserState‘));
SheetsSet(‘Zip’, player.GetVar(‘UserZip‘));
If you’re following along and already have the javascript for counting the clicks in your file then it’s important that you paste the new javascript right after it, as shown below.
Then create a new trigger, select “execute Javascript” and paste the Cluelabs code into the script window.
It doesn’t need to be on the Master slide this time, just make sure it applies to the whole slide.
That’s it! Publish your file to the web, click around and watch your Google sheet populate with location data. Follow along with gif demonstration.
How much does it cost?
The free plan gives you up to 100 free requests per month. As an example, if you wish to gather information about the city, state, country and zip code for each learner, it will cost you 4 requests each time.
You will likely reach your limit quickly. But it some cases, it can be enough to get an idea of how your training is being used.
Their paid plan starts at 6.95$ (if you pay for the whole year) or 9.95$ (if you pay by the month) for 4,000 requests/month. I personally like the option to pay monthly because I need all the data I can get at the earlier stages of the training implementation.
For example, if I notice that learners systematically get a question wrong, I can decide to phrase the question differently, or add additional help. But once my training feels balanced in its difficulty, this data becomes less relevant overtime. I can remove a couple variables and triggers from my Storyline file and switch back to the free Cluelabs plan.
I’m not affiliated with them, I just love the flexibility of not having to go through an LMS to gather data. Feel free to explore their site as they offer plenty of other elearning widgets.


